Oddly enough, there’s one principle that concrete floor specialists share with makeup artists: proper foundation preparation. As with human skin, ‘cosmetic’ floor improvements applied on an ill-prepared foundation and subflooring don’t last. So if you’re managing a property development or refurbishment project and want to avoid costly mistakes, here are a few things about subfloor preparation you should be aware of.
What is concrete subfloor preparation?
It does not matter whether you’re upgrading bare concrete, replacing a different type of old flooring, or starting a new project from scratch. Concrete subfloor preparation is the mandatory first phase in creating a flooring system that lasts.
During this phase, the flooring specialists you hire must:
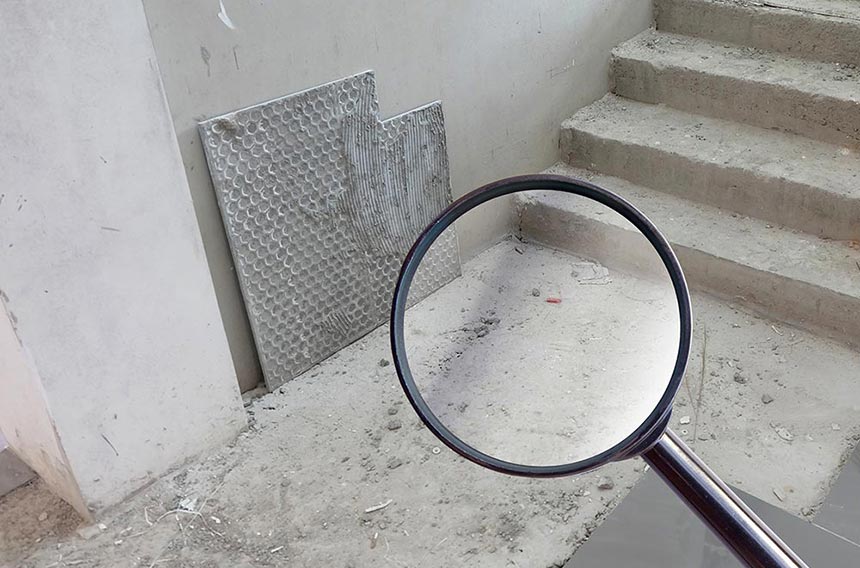
- (For old floors) Inspect the area for structural issues (i.e., how stable and sound the existing foundation and subflooring are) and implement the remedial work needed to fix any defects
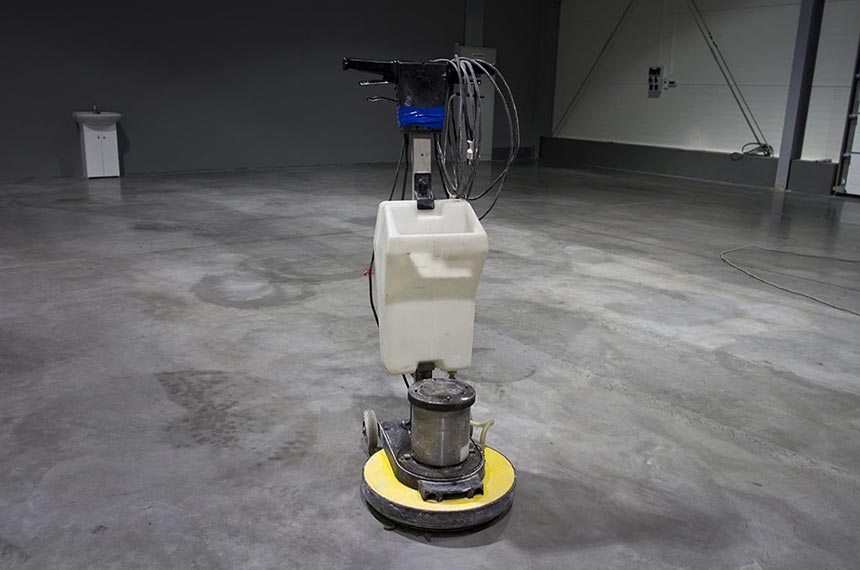
- (For old floors) Thoroughly strip off the original flooring, grinding down and ‘cleaning’ the underlying subfloor into a level surface
- (For new flooring) Ensure the proper creation of a new foundation and/or subflooring
- (For both new and old floors) Ensure that the foundation and concrete subfloor can support the overlay or finish, and handle the load-bearing and traffic requirements of your particular space.
Why is concrete subfloor preparation necessary?
The stability of your floor’s top layer relies entirely on the quality of your subfloor and foundation. If your foundation and subfloor aren’t compacted properly or made stable, whatever layer above it will settle unevenly over time.
That uneven settling is what compromises the durability and longevity of the entire flooring system. It eventually causes the following problems:
- Visibly uneven floors
- Further cracking and joint failures are reflected on the top layer (for polished concrete finishes, cement-based overlays, or wood floors)
- Delamination, lifting, ripping, or peeling (for epoxy, vinyl, tile, or other floor types)
- Misaligned walls and door frames
- Moisture stains or wet spots
- Increased stress on structural connections throughout the area
These problems can manifest within just 1-2 years from installation.
So, if you’re trying to cut costs but want to avoid trouble, do not cut costs by skimping on the time and budget allocated for proper foundation and subfloor preparation.
Adequately preparing your foundation and subfloor guarantees your desired look. And because it can also ward off or minimise damage from below, it can significantly increase your finished floor’s durability and lifespan.
Top management points to remember
But what if someone in top management insists that you cut down the time allotted for subfloor preparation to the barest minimum?
Here’s what you can say to convince them not to scrimp on concrete subfloor preparation:
1. Sufficient time for subfloor preparation ensures the project’s success
Scheduling sufficient time in your flooring project for the subfloor preparation stage is important. More time means more opportunities for your hired flooring contractor to spot and address any issues with your subfloor or foundation, especially ones you didn’t even know were there.
Here are just a few examples of defects or flaws that your contractor should be looking for (and fixing or removing):
- Uneven ground or inconsistent levelling – spots higher or lower than the rest
- Deep cracks in the subfloor
- Shifting ground or foundation
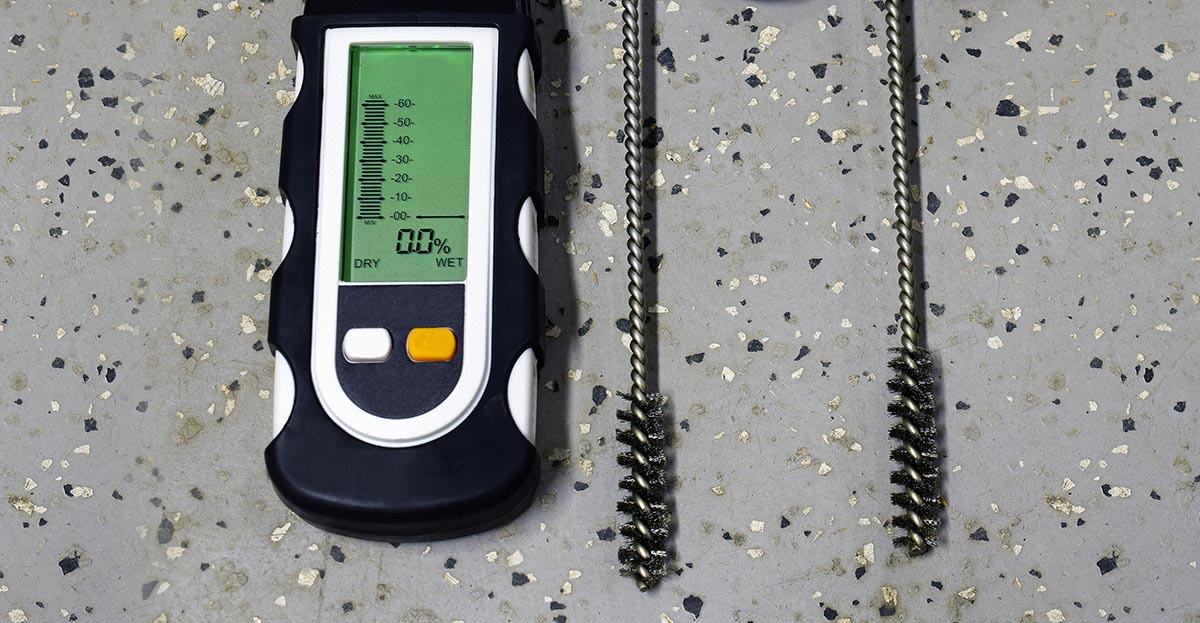
- Water leaks or high moisture areas
- Impact damage (i.e., from extremely heavy objects falling on the original floor)
- Remnants of built-in concrete furnishings (e.g., demolished benchtop counters)
Such flaws detract from whatever chic architectural or interior design you implement.
We’re sure that’s the last thing anyone wants when building up property sales hype for a development project.
2. Proper subflooring keeps people safer
Inadequate subfloor preparation won’t just affect floor quality. It can also compromise the health and safety of people using your floors.
There are two things you should always remember:
- Moisture can come from the weather outdoors or from the ground or floor below.
- Concrete is always porous.
If your foundation and subflooring aren’t properly built, prepared and sealed, moisture can creep into the slab or move up from below. Moisture build-up then causes additional problems that directly affect people’s safety:
- Moist areas that harbour mould, mildew, and other biological growth (e.g., moss), which can release spores and spread to adjacent areas
- Accelerated erosion of the top floor layer, releasing more cementitious dust and other particles into the air
- (For wood, tile, or traditional terrazzo) Faster warping and cracking of floors, resulting in minor obstacles for foot traffic or machinery

Proper concrete subfloor preparation can decrease the risk of:
Illness – Exposure to pathogens aided by moist spots in the floor can cause people to develop allergies, respiratory problems and even more debilitating and life-threatening conditions.
Physical injuries – An uneven and bumpy floor in an area filled with people or moving equipment is just an accident waiting to happen.
Distracted occupants or unsuspecting passersby can easily lose their footing on a raised ridge or deep groove. And depending on the severity of the fall, such mishaps can cause all sorts of injuries.
3. You protect your investment
Here’s the most important point you should make: taking time with concrete subfloor preparation keeps minor issues from turning into major budget-breakers.
Skipping it, or just doing a rough job, will put your ROI in peril because:
- Unaddressed foundation or subfloor defects ALWAYS lead to more serious (and expensive) structural and safety issues. And repairs, especially for problems that could have been prevented at the start, will end up costing you far more in the long run. Often, the ‘repair’ is actually a complete redo of the entire floor. It will be like you spent twice what you originally invested.
- Substandard flooring will discourage potential buyers or tenants. The longer your property sits idle, the more income you’ll lose.
- You risk facing future additional costs in legal fees, damage settlements, medical expenses, and even higher insurance premiums. People forced to live or work in areas with subpar flooring will complain, and there will be no end to the problems that follow.
Our Tips For A Problem-Free Subfloor Preparation
Tip #1: Engage the services of a reliable contractor
Floor preparation is every bit as time-consuming and labour-intensive as it sounds. And if done improperly, as we’ve discussed above, it can cause monumental headaches.

That’s why it’s best to hire a professional to do the job for you.
Choose one with a solid track record and good reviews. But also check their responsiveness. It’s important to hire a contractor you can communicate well with. Because even if you’re not going to do the heavy lifting, it still pays to know what to expect every step of the way.
Tip #2: Contact your chosen flooring professional as early as possible
It’s critical to allow enough time for flooring work. Depending on the existing floor’s condition, the floor preparation time can vary significantly. So get your contractor in early for an assessment. With a clear view of your starting point and your end goal, you can then work together to come up with your timeline.
Your final timeline has to be reasonable and realistic. Your flooring installer will be able to help you with this.
Tip #3: Manage your expectations
Following on from the previous point, when it comes to floor preparation, you may do well to hope for the best but expect the worst.
Your subfloor may appear relatively flawless. Or perhaps you’ve already noticed telltale signs of water damage, grease stains, cracks, and spalling. Whatever the case may be, take nothing for granted. Especially the assumption that your floor is in excellent condition and therefore will not require much preparation time can be fatal.
Only careful examination will confirm the true nature and extent of any problems that have to be addressed. In the end, nobody can examine an entire underfloor that is presently covered by an aging floor topping. But with an experienced professional, you can at least minimise the chances of unexpected surprises.
Tip #4: Know and trust the process
By now, you may notice that your choice of flooring professionals is crucial. When you have a reliable flooring contractor, they can do all the thinking and subfloor preparation for you.
That said, you still need to educate yourself. What specific steps will your flooring contractor take to fix the condition of your subfloor? That will depend on the current conditions of your site and the kind of flooring finish you want to have. For example:
- You may be handling a new property development. So you will need the foundation compacted and subfloors created from scratch.
- Or you may be managing a property renovation. You may need to rip off the old flooring, have the subflooring underneath cleaned and ground down for a smoother surface, so that a polished concrete overlay can adhere to it better.
- Or you may prefer an epoxy floor. If you have existing subfloors, your contractor may combine grinding its surface and screeding in a new and more level substrate, before the final epoxy layer is poured on top.
Trust the process, but stay on top of what your contractor is doing. In this way, you can help your flooring professionals stay on track and keep overlooked issues from compromising construction. That proverbial ounce of prevention will save you from unnecessary expense and aggravation.
The subflooring preparation expertise you need is right here
There’s no need to search far and wide. For your next project, call us at Art of Concrete for help with your subfloors.
Need to know more about our capabilities with polished concrete and other cement-based overlays? Considering other alternatives for heavy-duty commercial or industrial floors? Then start here:
