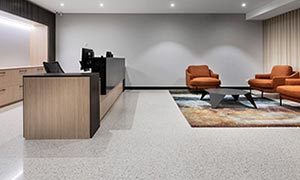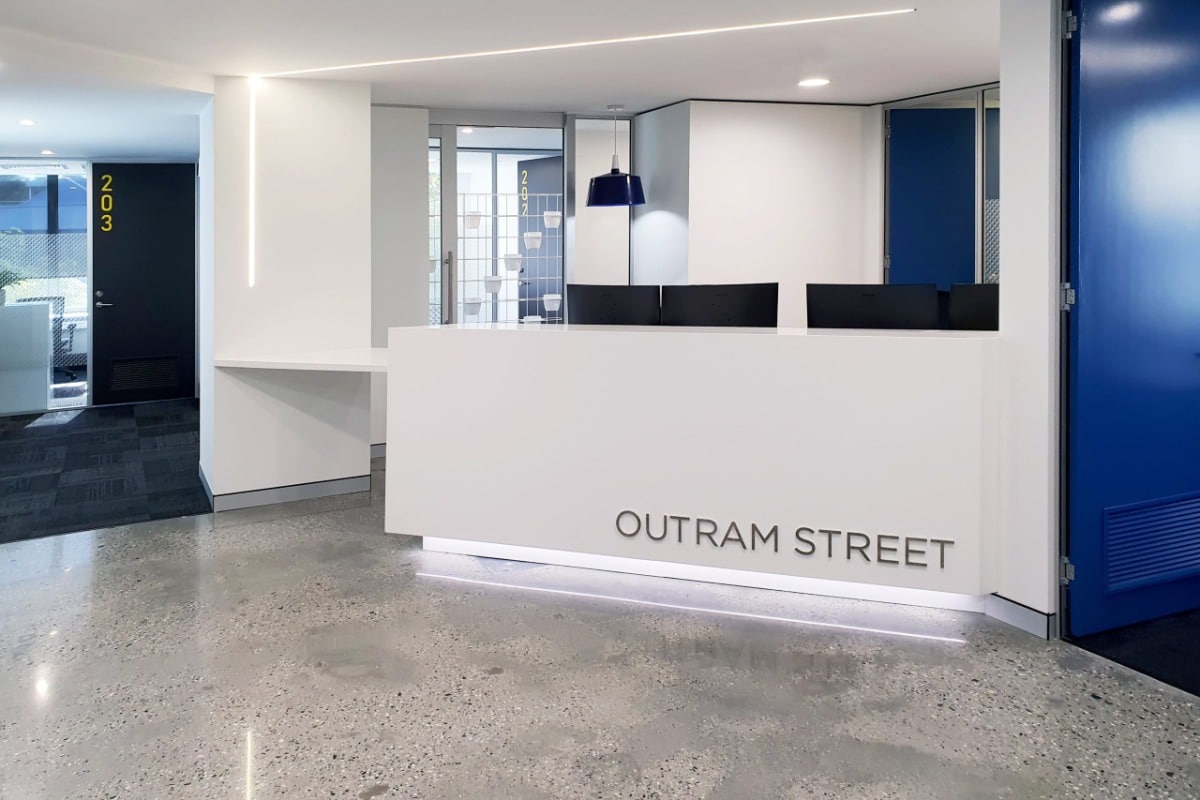
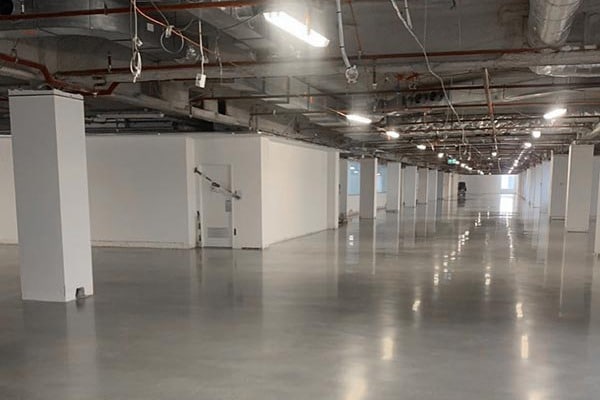
If you’re looking for stylish yet cost-effective flooring for your space, you can’t go wrong with polished concrete flooring in Perth. It offers the same durability and reflective properties as granite and marble. However, it’s not as expensive to source as these other popular rock materials.
Polished concrete floors are also a lot easier to install compared to other flooring options. Custom concrete floor experts only need to prepare the target site, pour the concrete, polish, seal and let the material dry. Here is a detailed guide on how flooring artisans in our Art of Concrete team do the whole installation process.
1. Preparing the target site’s foundation for a polished concrete floor
Before we start installing the concrete floor, it’s important to prepare the target site first. We need to check the area to see if there are any possible issues with the surface. If necessary, we also do some hammering and prying of the surface. This is to make sure that the site is ready for the installation.
Aside from the surface, we also inspect the substrate of the site. This is the layer found beneath the actual flooring. We have to determine what type of things are in the substrate, so we’ll know what we have to fix.
After surveying the site and addressing issues, it’s time to start excavating. We put a line on the site to mark out the height of the floor. We also add a layer of sand at the bottom of the site to help keep moisture from building up. Then we place a plastic sheet on top of the sand layer. We repeat this process until we have two layers, after which we place a wire mesh on top of the layers.
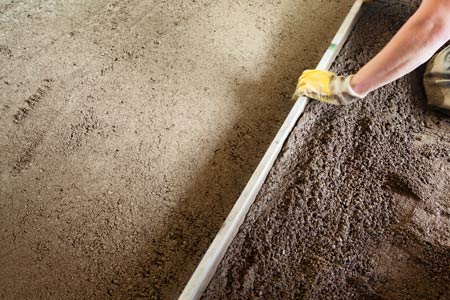
2. Pouring the concrete
With the target site set, we then proceed with the pouring of concrete. We typically use floats to level and smooth the concrete. This process can take somewhere between two and three days to finish, depending on how large the target site is. It’s usually the longest waiting period in the installation process, but it’s necessary to get the concrete pouring right.
3. Polishing the floor
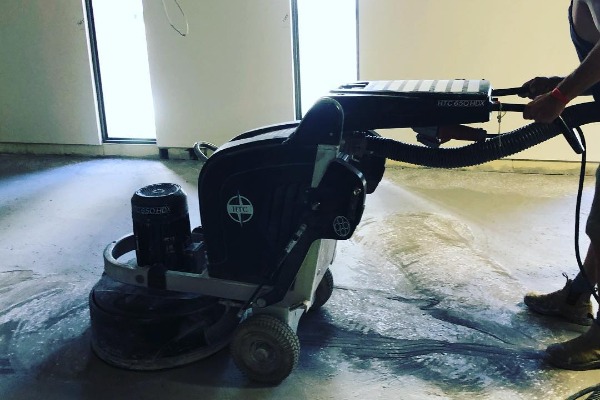
We then trade our concrete floats for planetary grinders to polish the concrete floor.
First, we fit the planetary grinder with the proper plates.
Next, we polish the concrete surface, ensuring we don’t hit the walls while we’re at it. The key here is to operate the grinder carefully since it can easily damage the lower part of existing walls.
Once we’re through, we use a transitional hybrid tool to remove the tool marks on the concrete floor. Planetary grinders often leave impressions as a result of the grinding process.
4. Applying sealers on the polished concrete floor
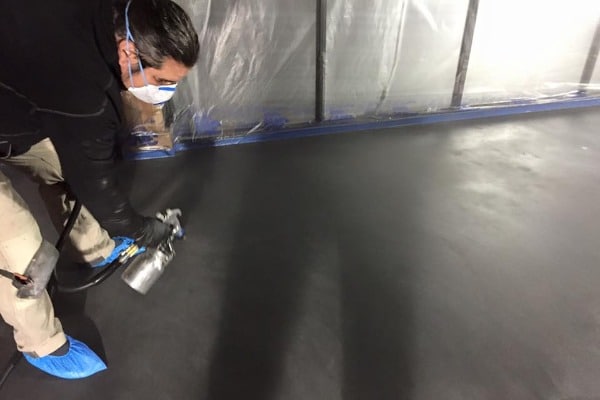
One of the most crucial parts of installing a polished concrete floor is the sealing. We apply sealers on concrete to help protect it from damage due to the elements. These include water, grease and oil stains, abrasion and deicing salts.
Sealing also makes the surface more resistant to weather exposure.
We begin by removing all debris on the concrete floor using a non-abrasive cloth. We often use an applicator spray to cover the surface with the sealer.
It’s important that all areas of the floor are covered with the sealer as evenly as possible. We finish the process by polishing the surface using a floor polisher.
There are several things to remember when sealing concrete floors. Before applying the sealer, there should be no foreign objects on the floor. Any insect, leaf or piece of debris that makes it to the surface can ruin its mirror smooth finish.
Another thing is to have the sealer on every part of the concrete floor dry evenly. We often cover all the windows in a room to keep the floor from getting exposed to sunlight. This helps ensure that all parts of the floor dry simultaneously.
5. Drying the concrete
After applying the sealers, the only thing left to do is to let the polished concrete floor dry. This process usually takes just around 30 minutes to finish.
What’s great about installing concrete floors is that there’s no cure time necessary for the job. You don’t have to worry about airing out the smells and fumes typically associated with solvents and liquid carriers.
These are just the basic steps to installing a polished concrete floor. As with any flooring, experience and skill make the difference between ordinary and extraordinary results.
If you are located in Perth and its surrounds, contact us for your polished concrete floor design and installation.
All you need is our expert flooring team
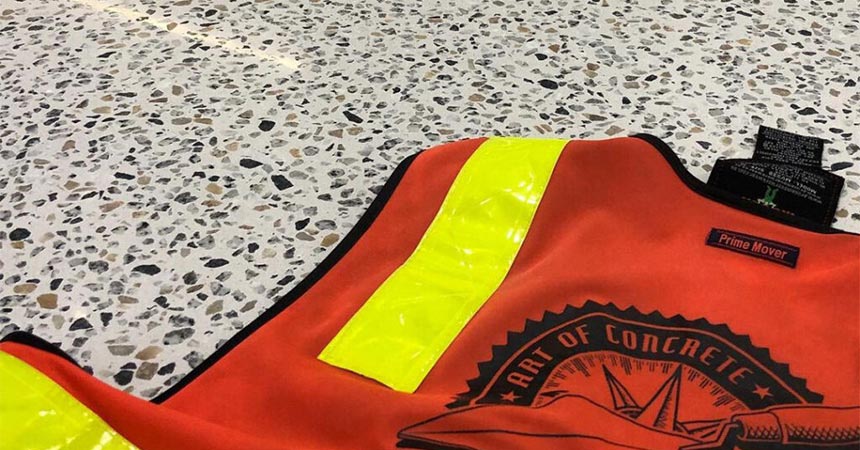
If you need to install polished concrete flooring at your Perth property, we’re the experts you can trust. We can do it all, from foundation and subfloor preparation to final overlay and polishing. We troubleshoot and solve site issues that may compromise the integrity of your floors. So for your next project, call us at Art of Concrete.
Need to know more about our capabilities in preparing substrates and subflooring? Considering other alternatives for heavy-duty commercial or industrial floors? Then start here: